How to Create Android Ringtones On Your Phone
In the past decade alone, mobile phones have become the norm. They are a part of our daily lives, and most of us can’t live without one. The Smartphone seems to evolve every other month, and one of the most popular mobile phones is the Android.
No matter which phone you use, it will always have a ringtone; and just like mobile phones, ringtones have also changed over the years (From the monophonic ones to today’s MP3 files). The technology is so advanced now , you can create ringtones directly from your phone. The best part is you don’t need a computer to do this. All you need is the source audio file stored on your android phone.
There are certain apps you will need in order to help you cut the source audio into something smaller. There are plenty of apps available for this, but today I will be discussing only a few. These apps are free to use and can give you a really cool ringtone.
Android Ringtones: Ringtone Slicer
This is still a very new app, and is still in beta version at Google Play. However, the developer has announced that the app will continue to be free even after its official release.
RingDroid
This has been in existence since 2008 and probably the most obvious choice for old-time Android users. The app is very easy to use and is available as an open source program. RingDroid has no advertisements in it; the developer has already announced that the app will never have ads either.
Ringtone Maker
You can not only cut the audio files through it, it is also possible to fade in or fade out, certain portions of a song. You can also use this app to adjust the overall volume of a tone. After you are done with creating the ringtone, you can attach it to a contact if you want.

Creating the Android Ringtones
I will go through the steps, but not for all the 3 apps mentioned above. I have chosen Ringtone Slicer because it’s new and many probably don’t know how to use it.
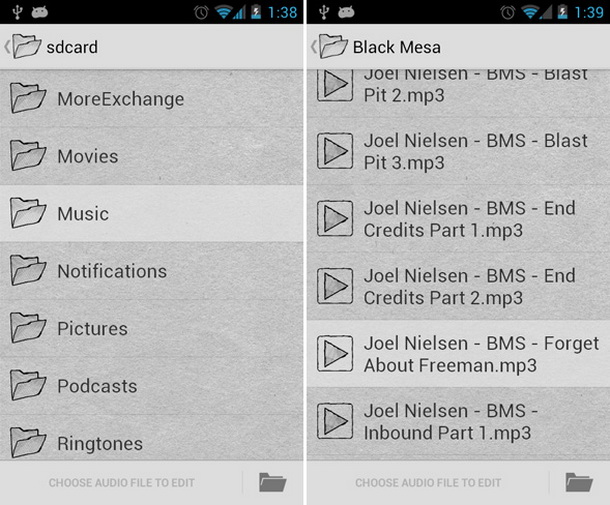
Once you launch Ringtone Slicer, you will get an overview of the device’s file system. The navigation through the file system is simple. The audio source formats supported by Ringtone Slicer are: AMR, MP3, WAV & AAC.
Once you have selected and loaded the source audio, a black box will appear with triangular corners. The box indicates the part of the audio you wish to use in the ringtone. The audio track can be dragged right and left for proper positioning.
You will notice a square button at the bottom bar. It will select the part of the audio file you are focused on. The triangular corners can be dragged for re-sizing the selection depending on your choice.
You can play your selection at any point, and you can even re-size it. You can enable Repeat and therefore continuously check the selected portion of the track, unless you find the perfect ringtone.
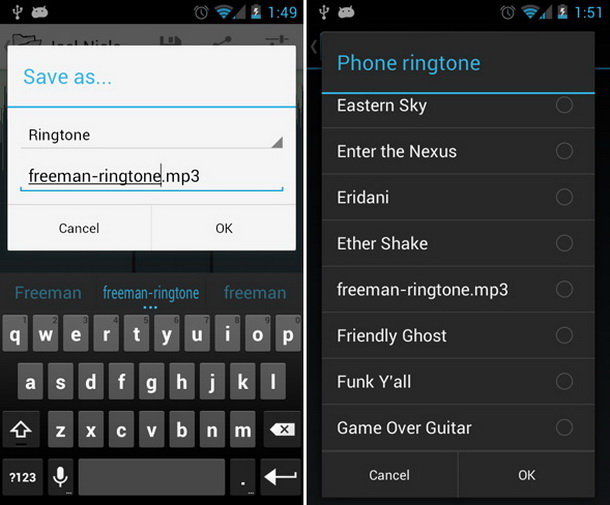
Once you are done with creating the ringtone, click on the save button. The ringtone will save as a different audio file than the source file, so, don’t worry about it overriding the original music file.
The newly created ringtone will get added to the default list of ringtones of your android phone. Therefore, no searching or digging through the phone is required.
If you have tried out Ringtone Slicer after reading this article, don’t forget to share your experiences with us.

